
Cómo desactivar Windows Defender
Windows Defender is a built-in antivirus application in Windows 8, 10, y 11. Although it is quite useful for securing the computer from dangerous virus attacks, many still wish to disable Windows 11 antivirus.
The presence of Windows Defender often becomes bothersome because the application may remove files and applications even if they are not harmful, mistaking them for viruses.
Además, Windows Defender frequently displays pop-ups that disrupt your activities while using the computer or laptop.
Windows Defender also tends to block the installation process of applications and games, leaving no choice but to disable Windows 10 antivirus.
If you experience these issues, let’s learn how to temporarily or permanently disable Windows 11 antivirus below!
Sin embargo, it is essential to know that by doing so, your device may become vulnerable to threats.
Cómo desactivar Windows Defender
Here are the steps you can take to disable Windows Defender antivirus protection:
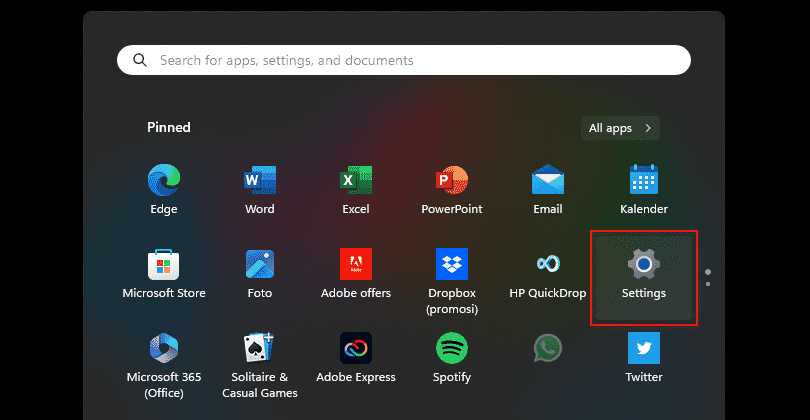
1. Primero, select Start o Windows logo located in the bottom-left corner of your computer screen.

2. Entonces, open the Settings section of the window that appears.
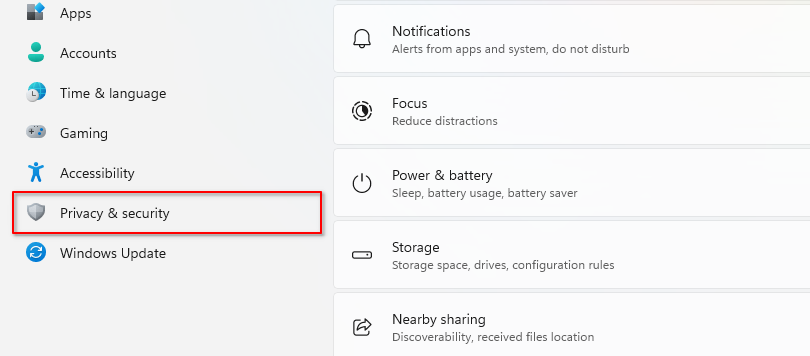
3. An settings window will appear on your screen. Seleccionar Update & Security.
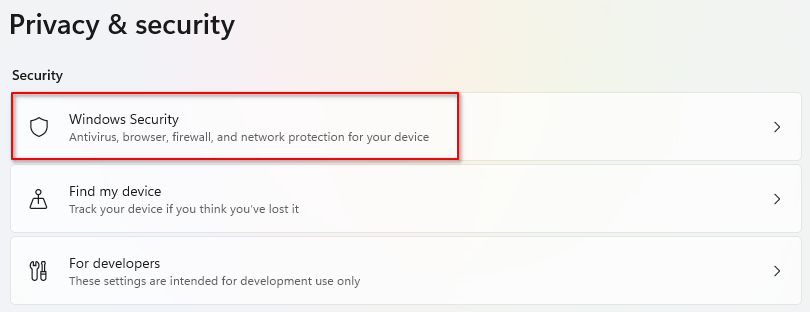
4. After the Update & Security window is opened, click on the Windows Security section.
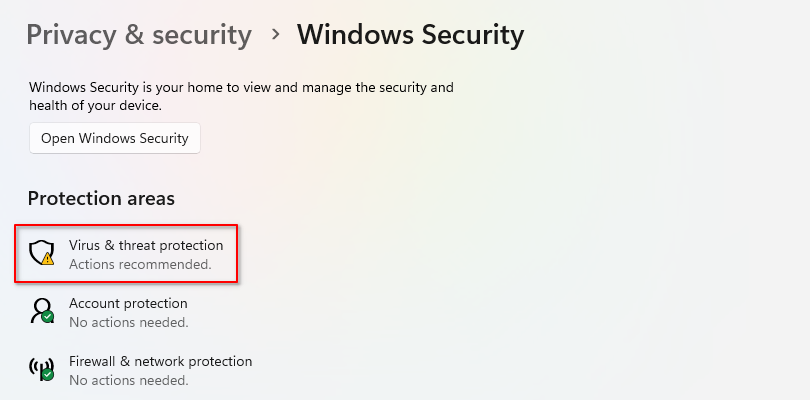
5. Open Virus & Threat Protection.
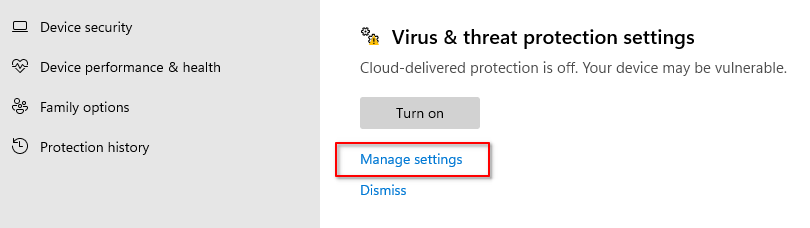
6. Entonces, click on Manage settings under Virus & threat protection settings.
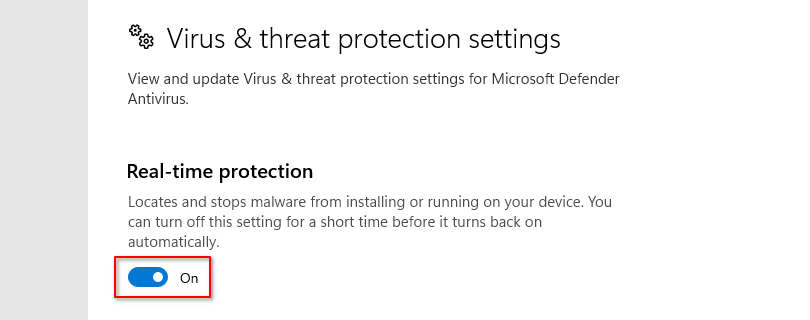
7. Finally, switch ‘Real-time Protection’ a Off to disable Windows Defender.
Cómo desactivar Windows Defender
Julio 30, 2023
Cómo descargar archivos en CahDroid.COM
Julio 13, 2023
Enlace de descarga de MIUI 12 Colección de temas
Marzo 5, 2021
Cómo ver vídeos en Telegram
Enero 27, 2021

Comentarios